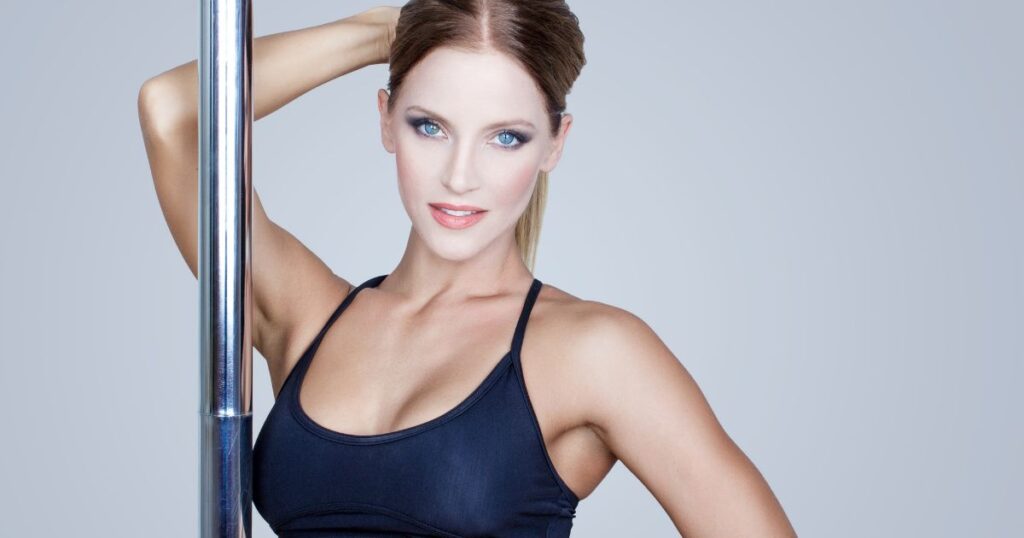
Pole achievements feel greater than other achievements. Fact. Finally nailing a move after weeks of trying is an incredible feeling. Most dancers will naturally want a photo or video of their latest impressive tricks to show off to their friends.
You may even be documenting your pole journey, or keeping proof of your inverted achievements for future reference! Taking photos regularly is a great way to track your progress.
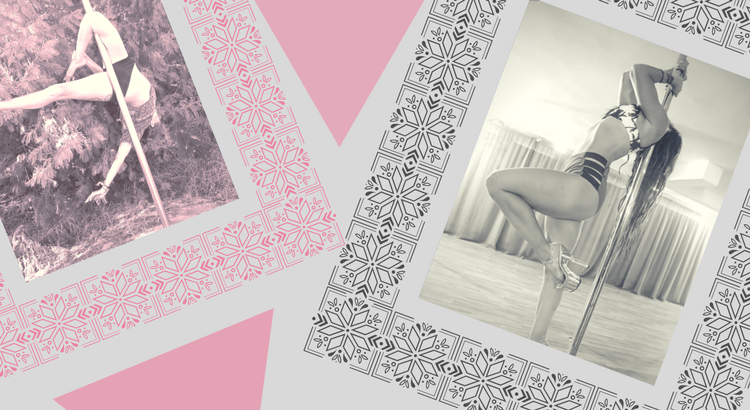
Unless you’re a photography enthusiast or a professional photographer, you’ll often find your pole photos don’t live up to your expectations.
You may find yourself in bad lighting, where you phone adds noise or graininess to your shots, or you end up cropping out part of your leg or even your head because you didn’t have enough room.
If you’re always ending up with blurry, grainy, or badly framed shots then this guide is for you!
Take Better Pole Dancing Pictures With These Photography Tips To Help You Get Beautiful Shots Of Your Latest Pole Dancing Achievements
Has this ever happened to you?
You balance your phone perfectly, set the timer, giving yourself plenty of time to get into the move before the photo gets taken, you spend ages positioning your delicately balanced phone to make sure you’ll be in the shot… but the picture comes out all blurry and out of focus anyway. Great.
Or, you optimistically ask your friend to take a picture of your latest achievement, but you end up with a really bad picture and you don’t have the energy to ask them to take another? Oh – they even had part of their finger covering the lens. Fucking great indeed.
Well, fortunately, we have a few tips to share with you on how to get the perfect shot of your latest pole achievement by yourself, using your phone!
Phone cameras have gotten a lot better in the last few years, Apple’s iPhone and Samsung Galaxy seem to be leading the market and their cameras are capable of taking beautiful shots.
The Pros Of Using Your Phone
- You don’t need to buy a separate camera
- Your phone’s camera will have loads of options and modes to make your photos better
- You can edit them straight from your phone
- You can share them instantly
The Downsides To Using Your Phone
- As you get more experienced, its functionality will be limited
- The options, menus and settings can be fiddly to change
Here are some of our tips that give the best pole dancing pictures in our experience:
Use the Back Camera, Not the Front!
The power in your phone’s camera is in the back camera, not the front!
Many pole dancers use the front camera, so they can easily line up the shot and glance at it to make sure it looks OK. The front camera does not have the same quality as the back camera.
The back camera is capable of taking pictures at a much higher resolution than the front – take advantage of that for the best results.
Save the front camera for selfies!
Change Your Phone’s Camera To The Highest Resolution
Not only will this result in higher quality images, but you can crop them without losing much quality. This way, you can still have a large image after it’s been cropped without any pixelation or loss of quality.
If you end up with pictures of people in the background, you can easily crop these out using an app on your phone (more on that later…)
By capturing higher quality images, they will still look good after being cropped.
This will, however, take up extra space on your phone’s storage as the files will be larger.
Choose Your Angle Before You Setup The Shot
It’s common for pole dance pictures to end up with the wrong angle, which doesn’t show the full extent of the pose you’re performing in the shot.
Choose your angle before you take the picture, to achieve better results.
Just by putting a little bit of thought and planning into your pole dancing pictures, you’ll be able to get those beautiful photos that you imagine.
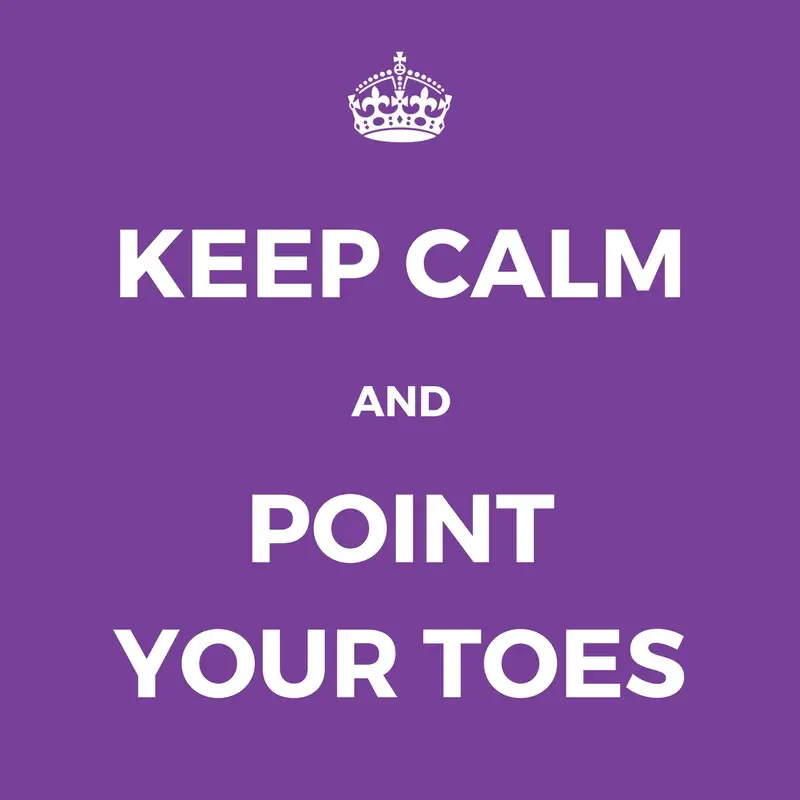
Point Your Toes
If you’re pointing your toes, your muscles in your legs will appear more toned in the photograph. It will also make your legs look longer and give a finished, more ‘polished’ look to the photo and the pole trick itself.
Pointing your toes is also key to capturing the elegance and grace of pole dancing.
Learn how to point your toes PROPERLY here.
Use A Tripod
A tripod will make your life so much easier! Seriously! You’ll be able to prepare your shots without needing to balance your phone on top of yoga blocks anymore!
For something inexpensive and lightweight, I recommend this David & Sanford EXLORERV Portable Lightweight Tripod (With Cell Phone Adapter) for just $20.
If you’re still not ready to buy a full tripod yet, you can use this small one designed for cell phones, and screw an extendable selfie stick into it, with the phone holder attachment at the end of the selfie stick. Stand it upright and you’ve got an excellent portable tripod!
This is a genius hack. The makeshift tripod weighs nothing and fits inside your regular bag.
By using a tripod, you can guarantee your shots will be stable. No more balancing your phone on piles of books or yoga blocks!
Want to become an amazing pole dancer?
Open Dance Academy has over 450 online lessons, by some world famous pole dancing champions! Join now to get:
***GET 10% OFF OPEN DANCE ACADEMY***
Use the code polefitfreedom to get 10% off Pole Dancing Lessons with Open Dance Academy. This is an exclusive offer for readers of this blog!
Set the Timer Function
If you don’t do this already, then 10 seconds is usually enough time to get into position!
Using this in combination with a tripod will definitely improve your shots 🙂
Understand your Phone Camera’s Settings (in Pro Mode!)
If you want to achieve a higher level of control, for example, in lowlight conditions, then it’s vital to gain at least a basic level of understanding of your phone camera’s settings.
Here’s where it gets a little bit technical…
Shutter Speed
Shutter speed is the length of time the shutter is open when taking the photo. A faster shutter speed will let in less light, whereas slower shutter speed will let in more.
If you use a slower shutter speed, it will also capture movement, such as a motion blur.
Aperture
Aperture also helps you control the amount of light being let in when capturing a photo. The aperture is the size of the hole in the lens. A smaller aperture letsin less light and a wider aperture lets in more.
Pay attention! Here’s where it all gets confusing!
Aperture is written with the letter f in front of it. A wider aperture has a low number (e.g. f1.6), and a small aperture has a big number (e.g. f22)
You can experiment with different shutter speed and aperture combinations and see what works best in different lighting.

ISO
ISO is the sensitivity of the sensor. Higher ISOs are better for low light but result in a grainy image.
Use ISO in combination with shutter speed and aperture controls to get the best shot in low or unnatural light.
Flash
A flash on a phone camera is limited so it doesn’t give much control.
The flash often reflects on the shiny pole’s surface unless you have a way of diffusing it.
Save the camera flash for selfies!
Auto/Manual Focus
Most phones will have autofocus tracking, so it will automatically focus on you.
Tip: Tap of the area of the photo you want to be in focus.
Edit your Pole Dancing Pictures like A Pro with Snapseed (and say Goodbye to Instagram filters!)
Instagram filters are overused and they just a one-size-fits-all approach to photo editing.
If you want to edit your photos on-the-go and don’t have access to Photoshop or Lightroom, then use the Snapseed app.
It’s extremely powerful for an app, it has loads of features, as well as pre-made filters which are superior to Instagram filters.
Make your photos stand out by subtly editing on Snapseed before sharing them online to give yourself an edge. It takes a little bit of practice, but there are a bunch of tutorials if you search online.
Download Snapseed for iPhone / Download Snapseed for Android
Turn the Screen Grid On
Most camera phones will have a grid that looks like this:
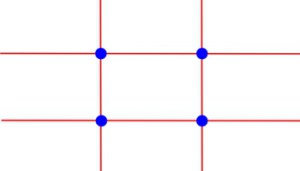
Use it! You should try to position the subject on the lines or where they cross for a better composition. The grid is there to guide you.
Dividing your photograph into a grid like this is called using the ‘Rule of Thirds’, which makes photos more engaging due to the way they’re framed/composed.
Just because it’s called a rule, you can of course still be creative and try your own ideas when photographing. However, using the rule of thirds will generally result is a composition which is pleasing to the eye 🙂
Try A Stick-On Wide Angle Lens for Your Phone
These are fairly new, you can get different lenses to stick onto your phone to be more creative with your shorts. A wide-angle lens will fit more in, so if your shots are often cropped in too far, or you can’t move your tripod back anymore, then a wide angle stick-on lens, such as this ZOETOUCH Superwide lens (2-in-1 Lens Kit) will allow you to fit more into your shot.
Learn About Lighting
Photography is all about capturing light. It’s far too complicated of a subject to explain in this simple article, but many photographers will agree that natural light is best. You’re unlikely to have professional lighting rigs or ring lights in your house or pole dancing studio!

Ideally, you want to avoid harsh shadows and light the entire subject. Find out more about photography and good lighting here.
Be Aware of Other People If You’re in A Class or Pole Dance Studio
We’ve written about this before in our Confessions of a Pole Dance Instructor Blog Series. It’s really inappropriate and not cool, so be aware!
As much as you love having photos of yourself on the Pole, some of your fellow learners may not like it so much. This is especially important if you plan to share your pics on Facebook or Instagram, as others may not want photos of them in a pole dancing class for various reasons.
Try your best to avoid getting people in the background, your photo will look better without them and they may not even want to be in your photo anyway!
If people do end up sneakily photobombing you (with or without realising), you can crop them out using Snapseed!
Be Patient & Have Fun!
Photography is a skill that needs practice, just like pole dancing! Enjoy it and treat it like a learning experience.
Related: How to Grow a Pole Dancing Instagram Account
So, those are our tips for taking better pole dancing photos! We’d love to hear from you, what are your top tips for taking better pole photos?
Happy poling!